QPod Tutorial - Quick Start
Your Swiss Army Knife for AI & Data Science
In a nutshell, QPod ( DockerHub | GitHub ) is an out-of-box Data Science / AI environment and platform at your fingertip which you would love 💕.
With Docker and QPod, you
- 📦 can start your data science / AI projects with nearly
zero configuration- QPod puts everything about installing (latest) packages and configuring environment into standard docker images and sets you free from these tedious work. - 🌍 will find your work more
easy-to-reproduce- QPod standard images make scientific research or data analysis project as reproducible pipelines and help you share your work with others. - 🆙 can easily
scale-up and scale-outyour algorithms and key innovations - QPod help you move forward smoothly from the development stage to deployment stage by re-using these images to either to provide RESTful APIs or orchestrate map/reduce operations on big data.

What's actually there
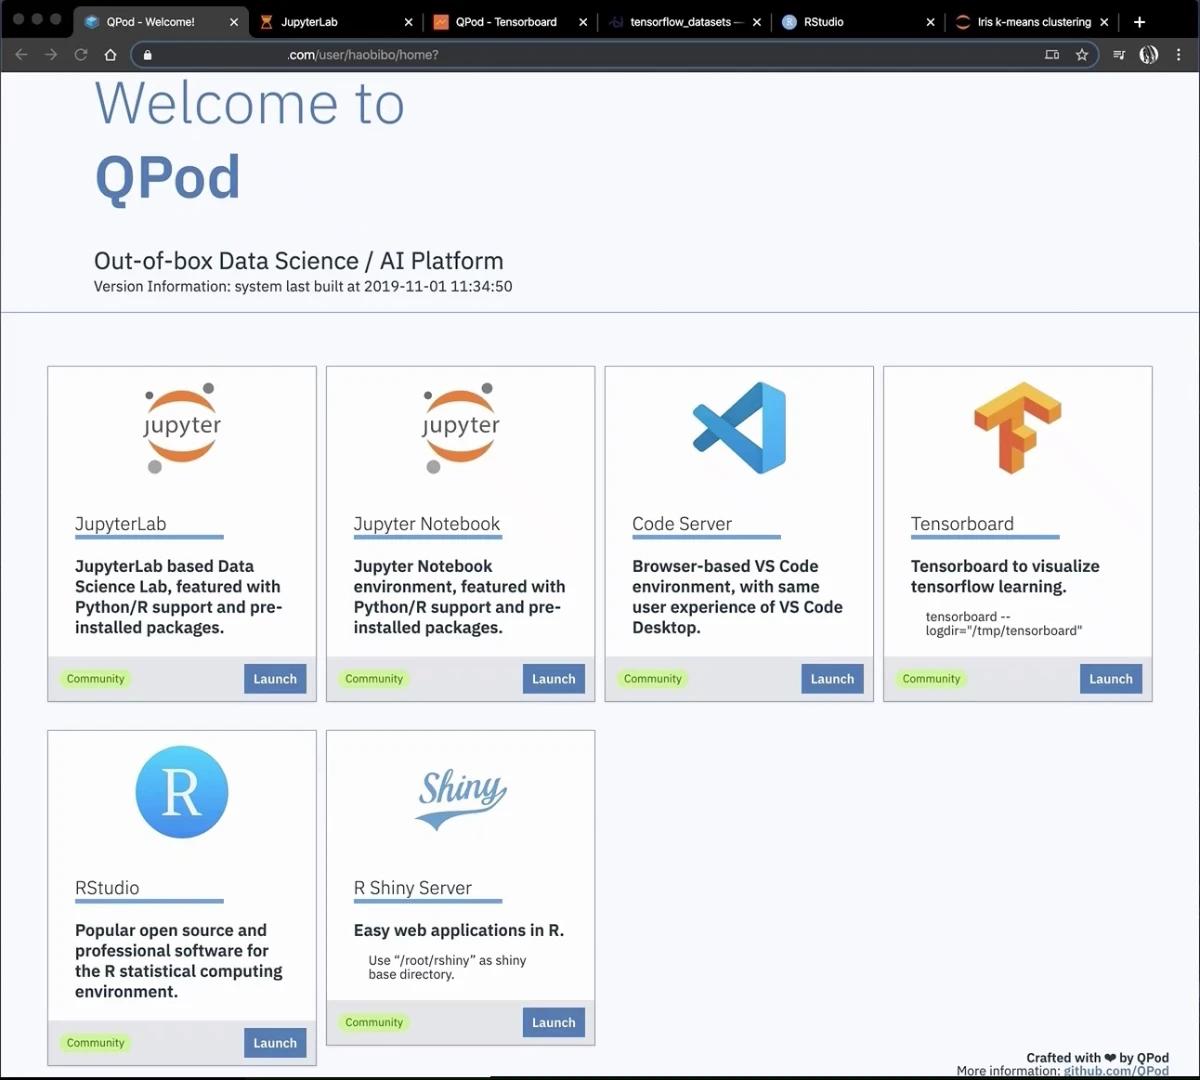
QPod curates and maintains a series of Docker images including interactive computing environment to run a Jupyter Notebook (or JupyterLab) with Python, R, OpenJDK, NodeJS, Go, Julia, etc. Other IDE-like tools (e.g VS Code, R-Studio) are also included.
QPod supports use cases of both research and production:
- (Stand-alone) Use it on your laptop as default data science / develop environment.
- (Multi-tenant) Use it on a server/cluster to host multiple users to exploit hardware resources like GPU.
- (Deployment/Production) Use it as the base image to host RESTful APIs or work as executors or map/reduce operations.
How to use? 1-2-3-GO🎉
0. Have docker installed on your laptop/server
-
Linux (e.g.: Ubuntu LTS): install docker-ce ( community version & free: ) directly (or install other container services like podman).
-
macOS: install docker-ce-desktop
-
Windows (>=10):
- Option 1 (recommended): install WSL2 and latest Ubuntu distro, and then install docker-ce just like on Linux.
- Option 2: docker-ce desktop
Special reminder for GPU and cuda users
Docker installed from default Ubuntu/CentOS repository probably won't work for GPU!
If you want to use NVIDIA GPUs with QPod, Linux server or latest Windows WSL2 is required.
After installing Docker >= 19.03, also install both
- the
NVIDIA driverthat fits your hardware, - and the latest version of
nvidia-container-toolkitto use the GPUs in containers.
1. Choose the features and choose a folder on your disk
-
Choose a folder on your laptop/server to server as the base directory (e.g.:
/root,/User/me, orD:/work). Use an absolute path instead of relative path -- files in this folder are visible in the environment (files outside this folder are not). -
Choose an tag from QPod feature matrix (e.g
fullfor your laptop, orfull-cudafor a Linux server with NVIDIA GPU), depends on what features/moduels do you want. Typically, you can choosefull/full-cudaif you have enough disk space and no worry about your network speed.
2. Start the container
Change the value of IMG and WORKDIR to your choices in the script below, and run the script. Shutdown Jupyter or other service/program which are using port 8888 or 9999.
For Linux/macOS/Windows WSL, run this in bash/terminal
IMG="qpod/base-dev:latest"
WORKDIR="/root"  # <- macOS change this to /Users/your_user_name

docker run -d --restart=always \
    --name=QPod \
    --hostname=QPod \
    -p 8888:8888 -p 9999:9999 \
    -v $WORKDIR:/root \
    $IMG
sleep 10s && docker logs QPod 2>&1|grep token=
⚠️ To use QPod with NVIDIA GPU machines with nvidia-docker, be sure to:
- 👉 Use Docker >= 19.03 and the command
nvidia-smiworks well on host machine - 👉 Add option (after
--restart=always) in thedocker runcommand to enable GPU access:--gpus all(for older version of nvidia-container, use--runtime nvidia) - 👉 Use
IMG="qpod/full-cuda"or other images with cuda support
For Windows, run this in Terminal or CMD
Docker on Windows doesn't support GPU yet (cuda WSL support is coming soon).
SET IMG="qpod/full:latest"
SET WORKDIR="D:/work"

docker run -d --restart=always ^
    --name=QPod ^
    --hostname=QPod ^
    -p 8888:8888 9999:9999 ^
    -v %WORKDIR%:/root ^
    %IMG%
timeout 10 && docker logs QPod 2>&1|findstr token=
3. Sit back for minutes and get the first-time login token
The commands in the last step will:
- trigger a docker image download process which may take minutes
- start a docker container named
QPod - print a string contains a URL, which includes a 48-digit hexadecimal number
Copy the printed hexadecimal string after ?token= as the first-time login token.
Go! 🎉
Access http://localhost:8888 (or http://ip-address:8888) in your browser and paste the token you just copied to start the journey.
Additional Information
FAQ
For a list of FAQ or other information, please refer to the wiki page of this repo.
Hardware
The images are built based on ubuntu:latest and only tested on the x86 platform.
Minor modifications are expected to port to arm64, ppc64le platform.
Package Management
Although conda is installed, we do not recommend to use conda to install a lib/package, because:
condarepo mirrors are generally not avaliable in restricted enterprise LAN, especially in fincial/medical related companies.condadoes not reuse the existing system library yet if a system lib is already installed --condainstalls it again.- An open-source alternative,
mambais installed.
Customization
These images are highly customizable. If you find a system lib / Python module / R packages is missing, you can easily add one in the install_XX.list in the work folder. Utilites scripts and functions in /opt/utils folder will be helpful for custimize images.
